What is Chatwoot and how to integrate it on your website?
Live chat support is one of the advanced support channels these days. There are lots of live chat services out there. But in this blog, we will be learning about Chatwoot and how to set up and integrate it on your website.
What is Chatwoot?
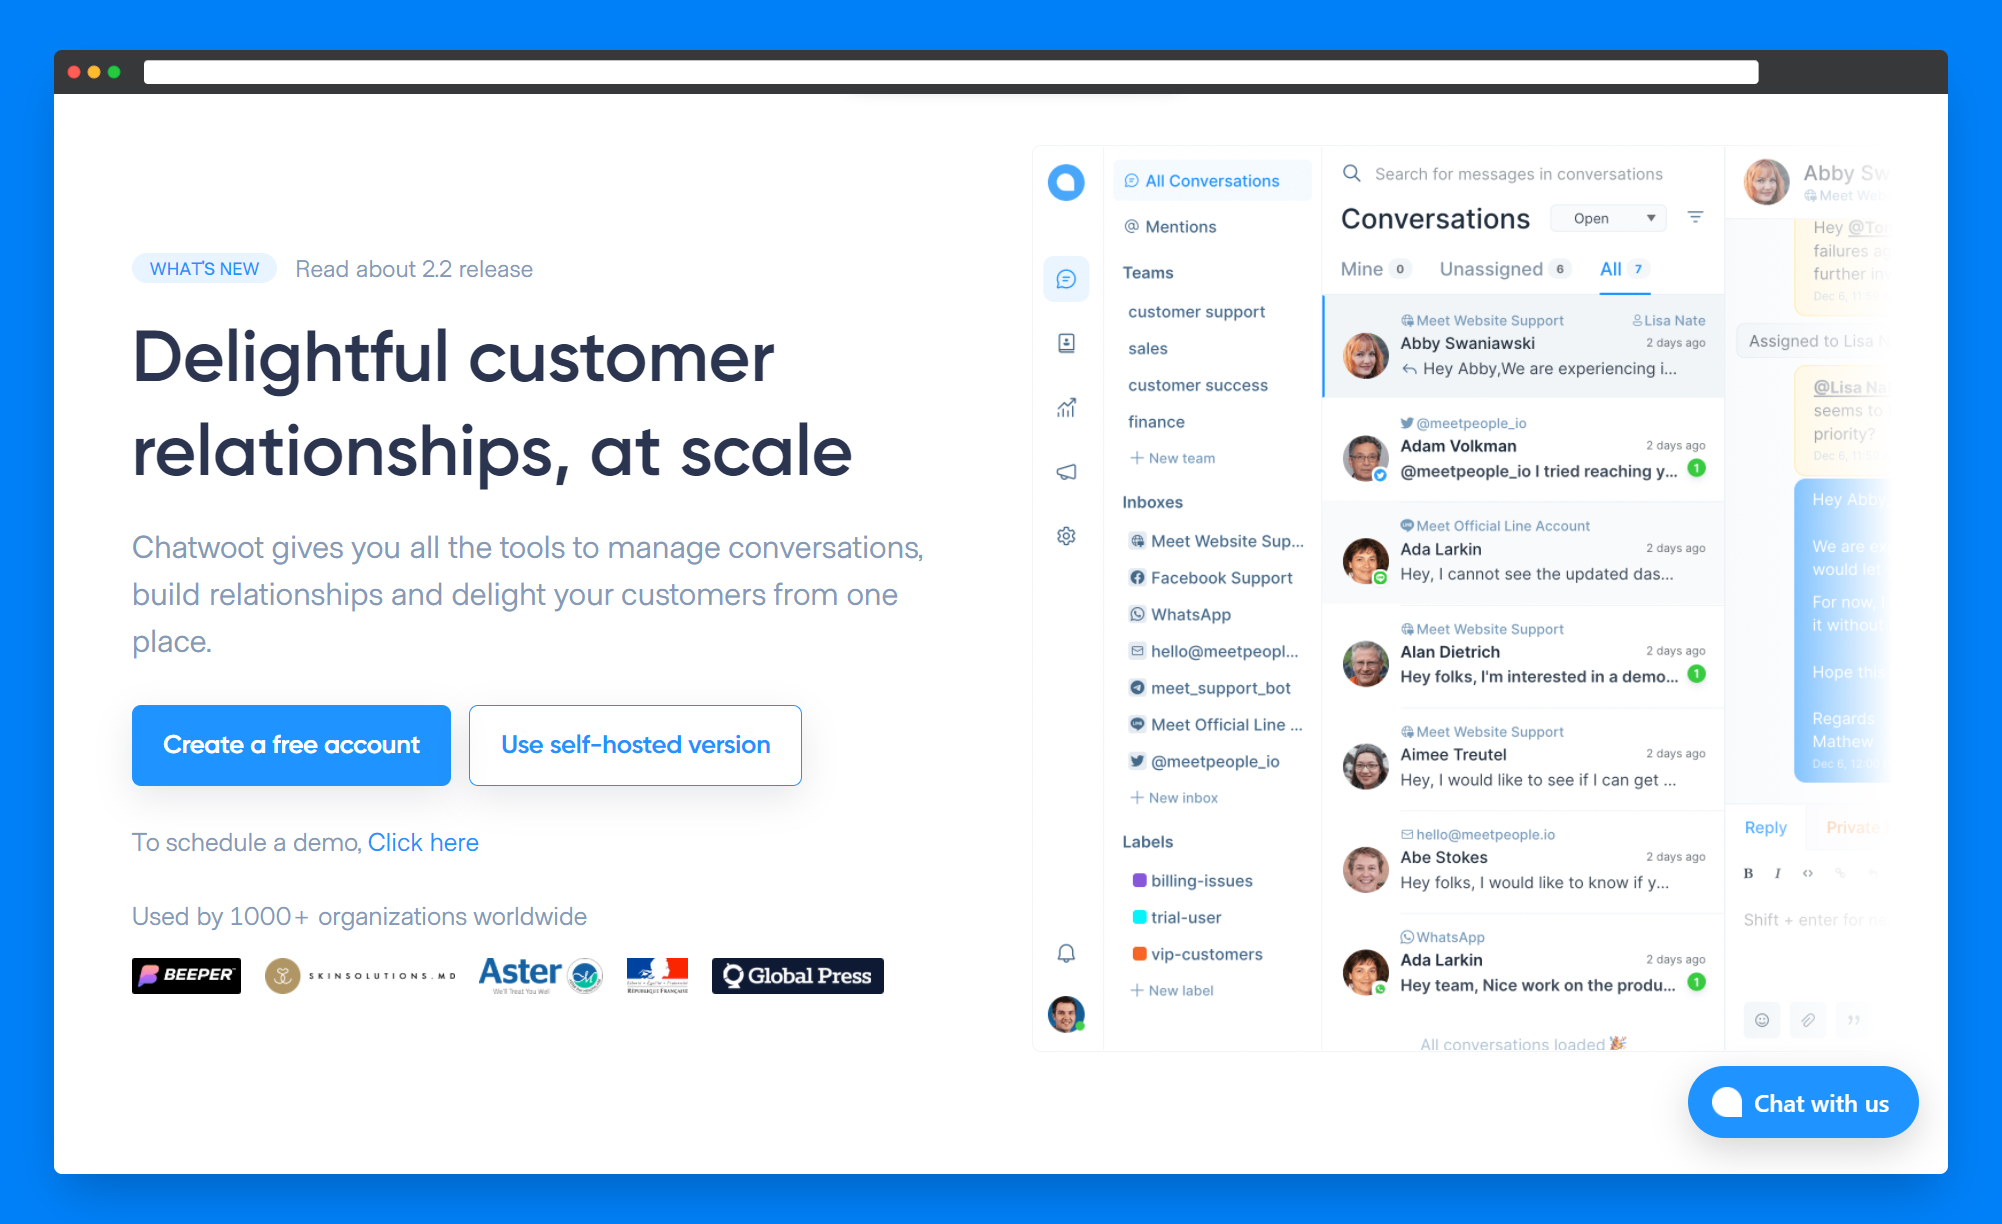
Chatwoot is an open-source alternative to Intercom, Zendesk, HubSpot etc. Not just live chat, it has support for multiple channels like Email, Facebook page, Twitter handle, WhatsApp etc.
Why Chatwoot?
You can use it for free by hosting it on your infrastructure. It has great features and integrations. All multiple channels mentioned above can be viewed in a single view, hence it's easy to switch between channels.
Features overview:
- Shared inbox - Collaboration made easy
- Live chat
- Channels - Multiple channels - Single view
- Automations - Automate repetitive tasks
- Chatbots - Build chatbots with Dialogflow and connect to your inbox
- Mobile apps(IOS & Android) - Engage with customers instantly from anywhere
- Integrations - Integrate with Slack, Wordpress, Dialogflow and Rasa.
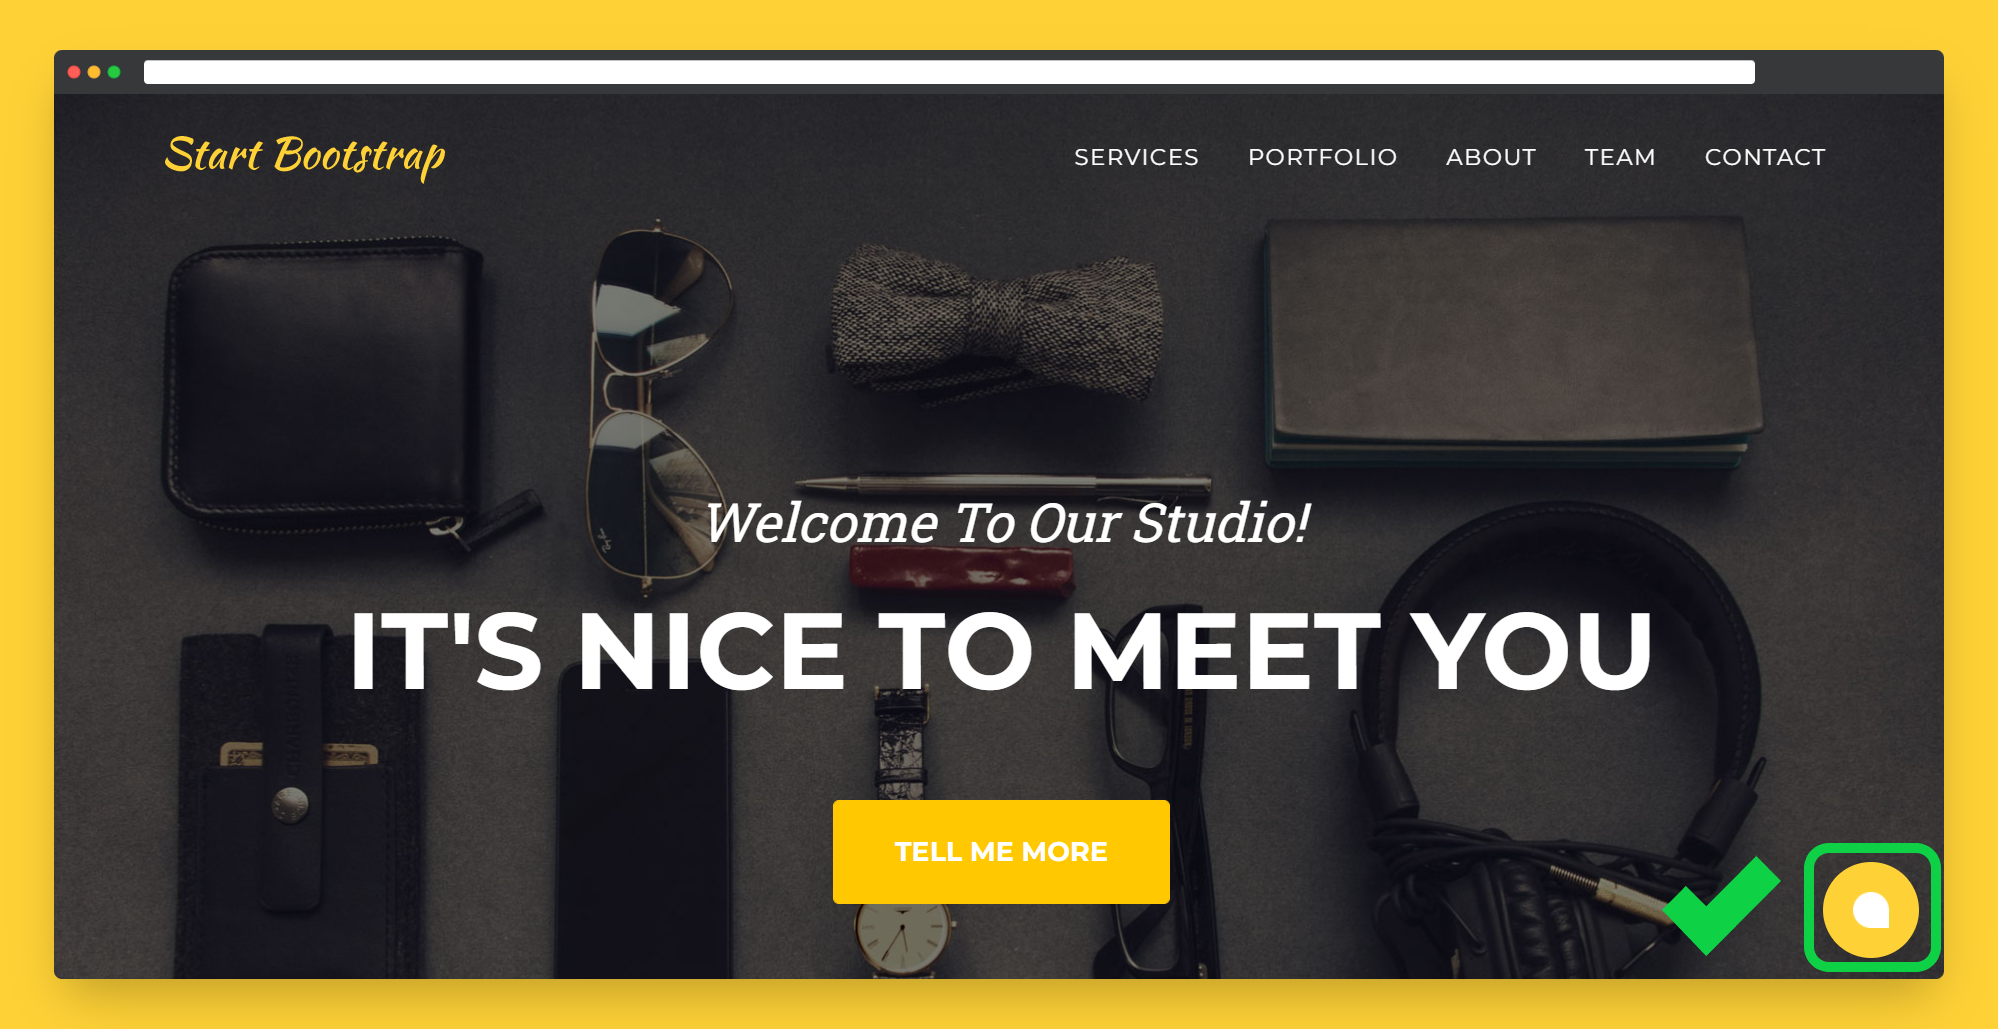
Here's what we are going to make
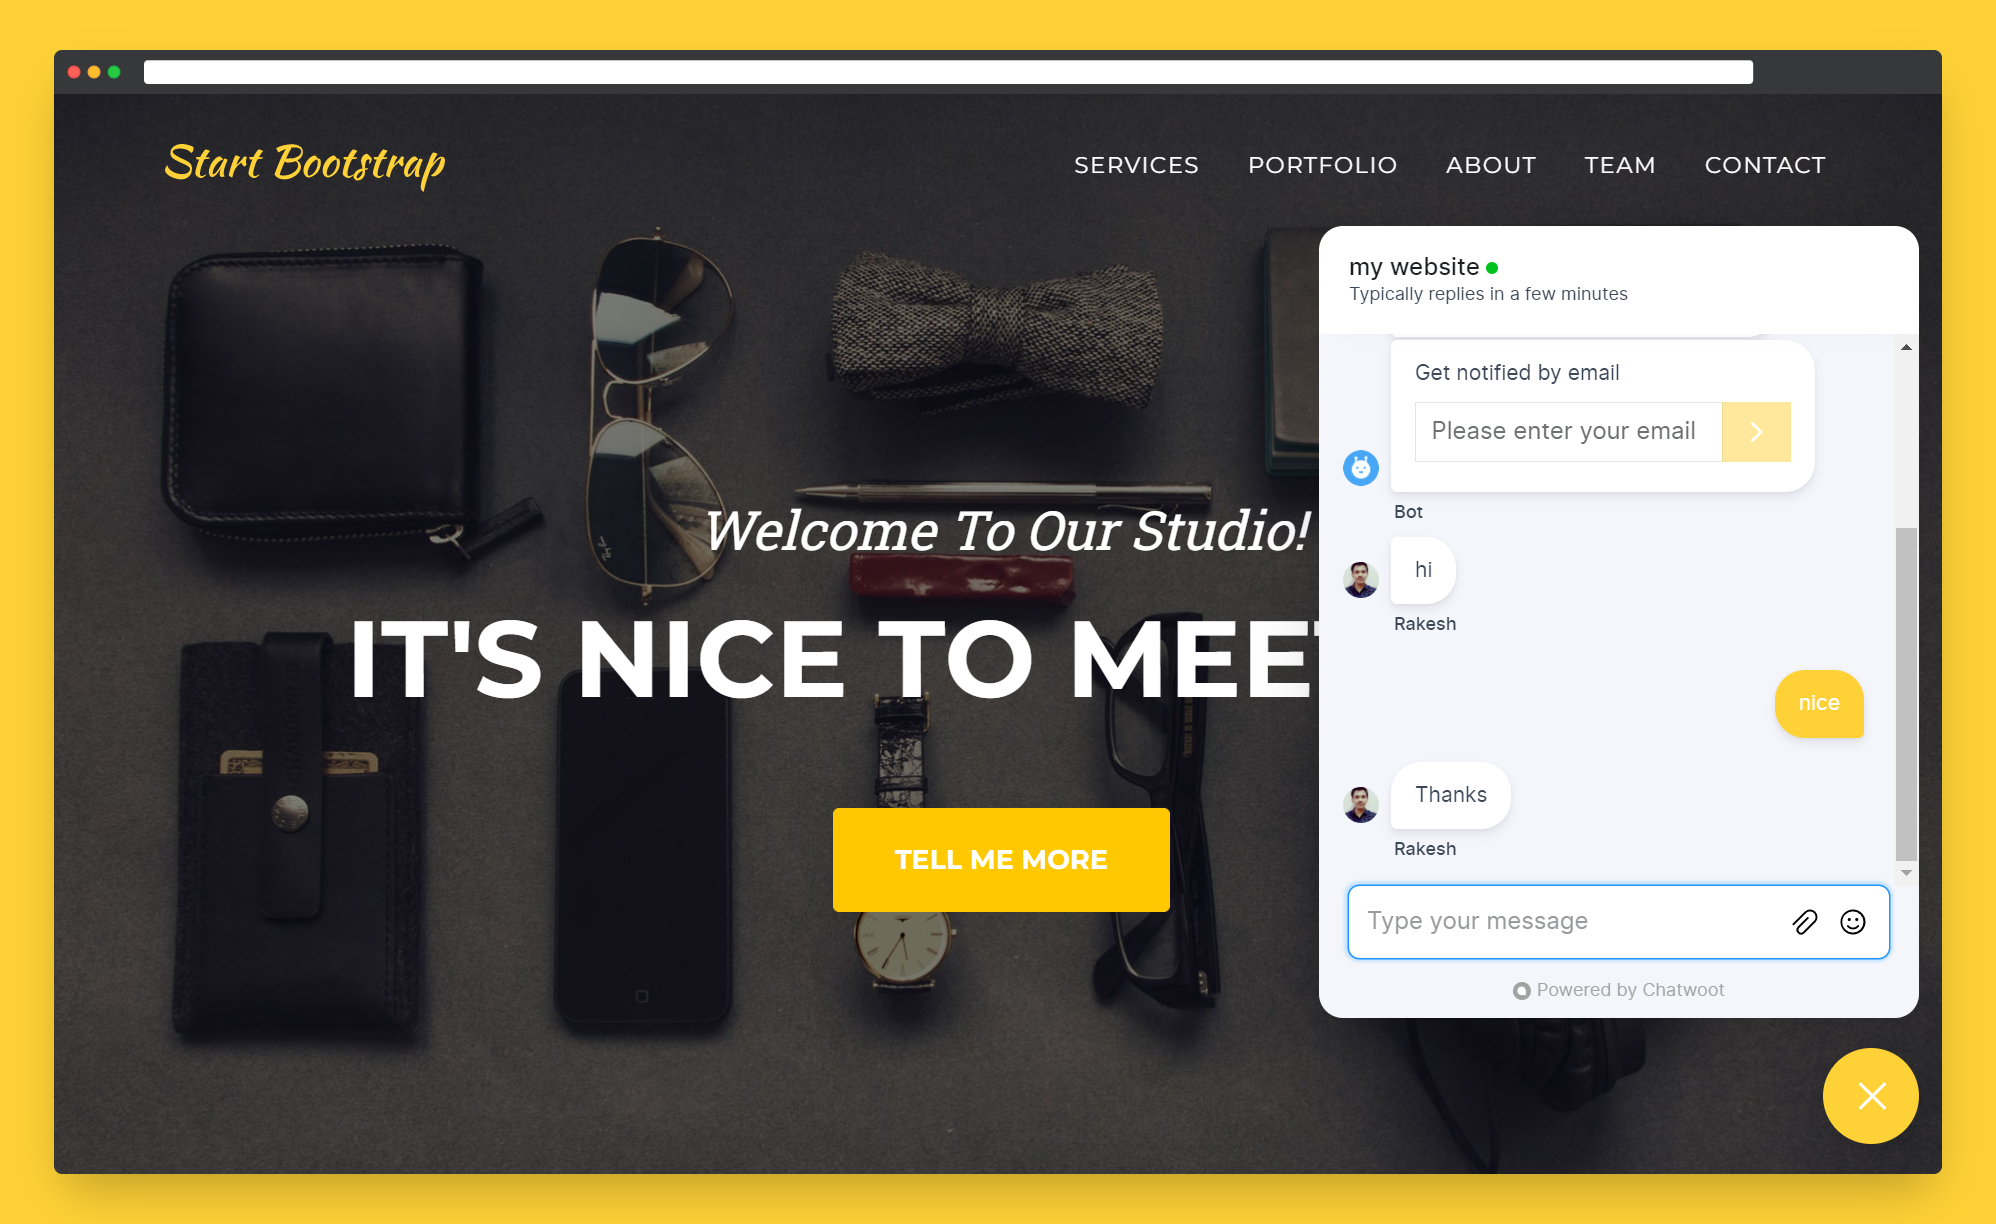
I integrated Chatwoot live chat widget on my website, try it out - itsrakesh.co
How to integrate Chatwoot?
Prerequisites
- Create a Chatwoot account if you don't have one already.
- A website
Step 1 - Setting up profile
After you create an account, you will be taken to the dashboard. From there click on your profile icon on the bottom left and then click on Profile Settings.
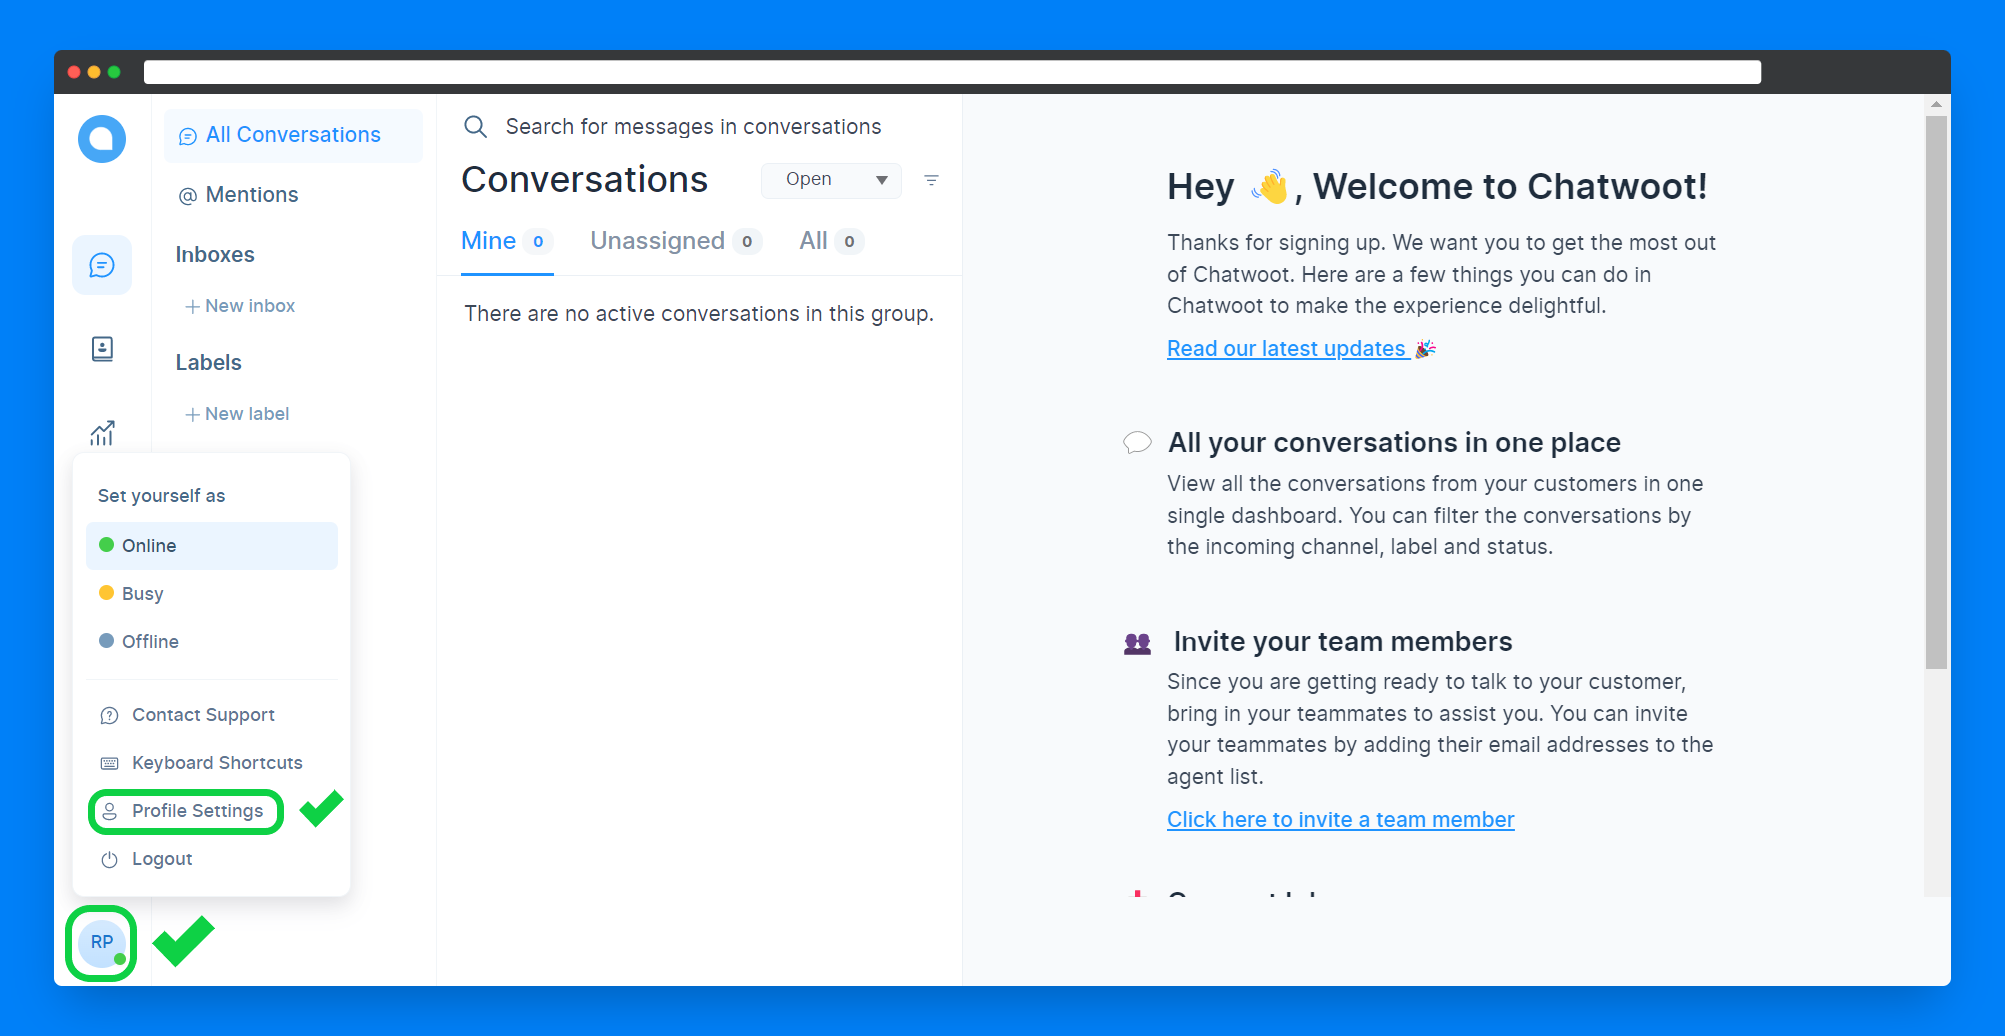
Update your profile picture and display name - these details will be shown in all the communication channels.
Step 2 - Create a website channel
Now we have to create a channel. This is where all the communication happens.
- Click on Settings -> Inboxes -> Add Inbox.
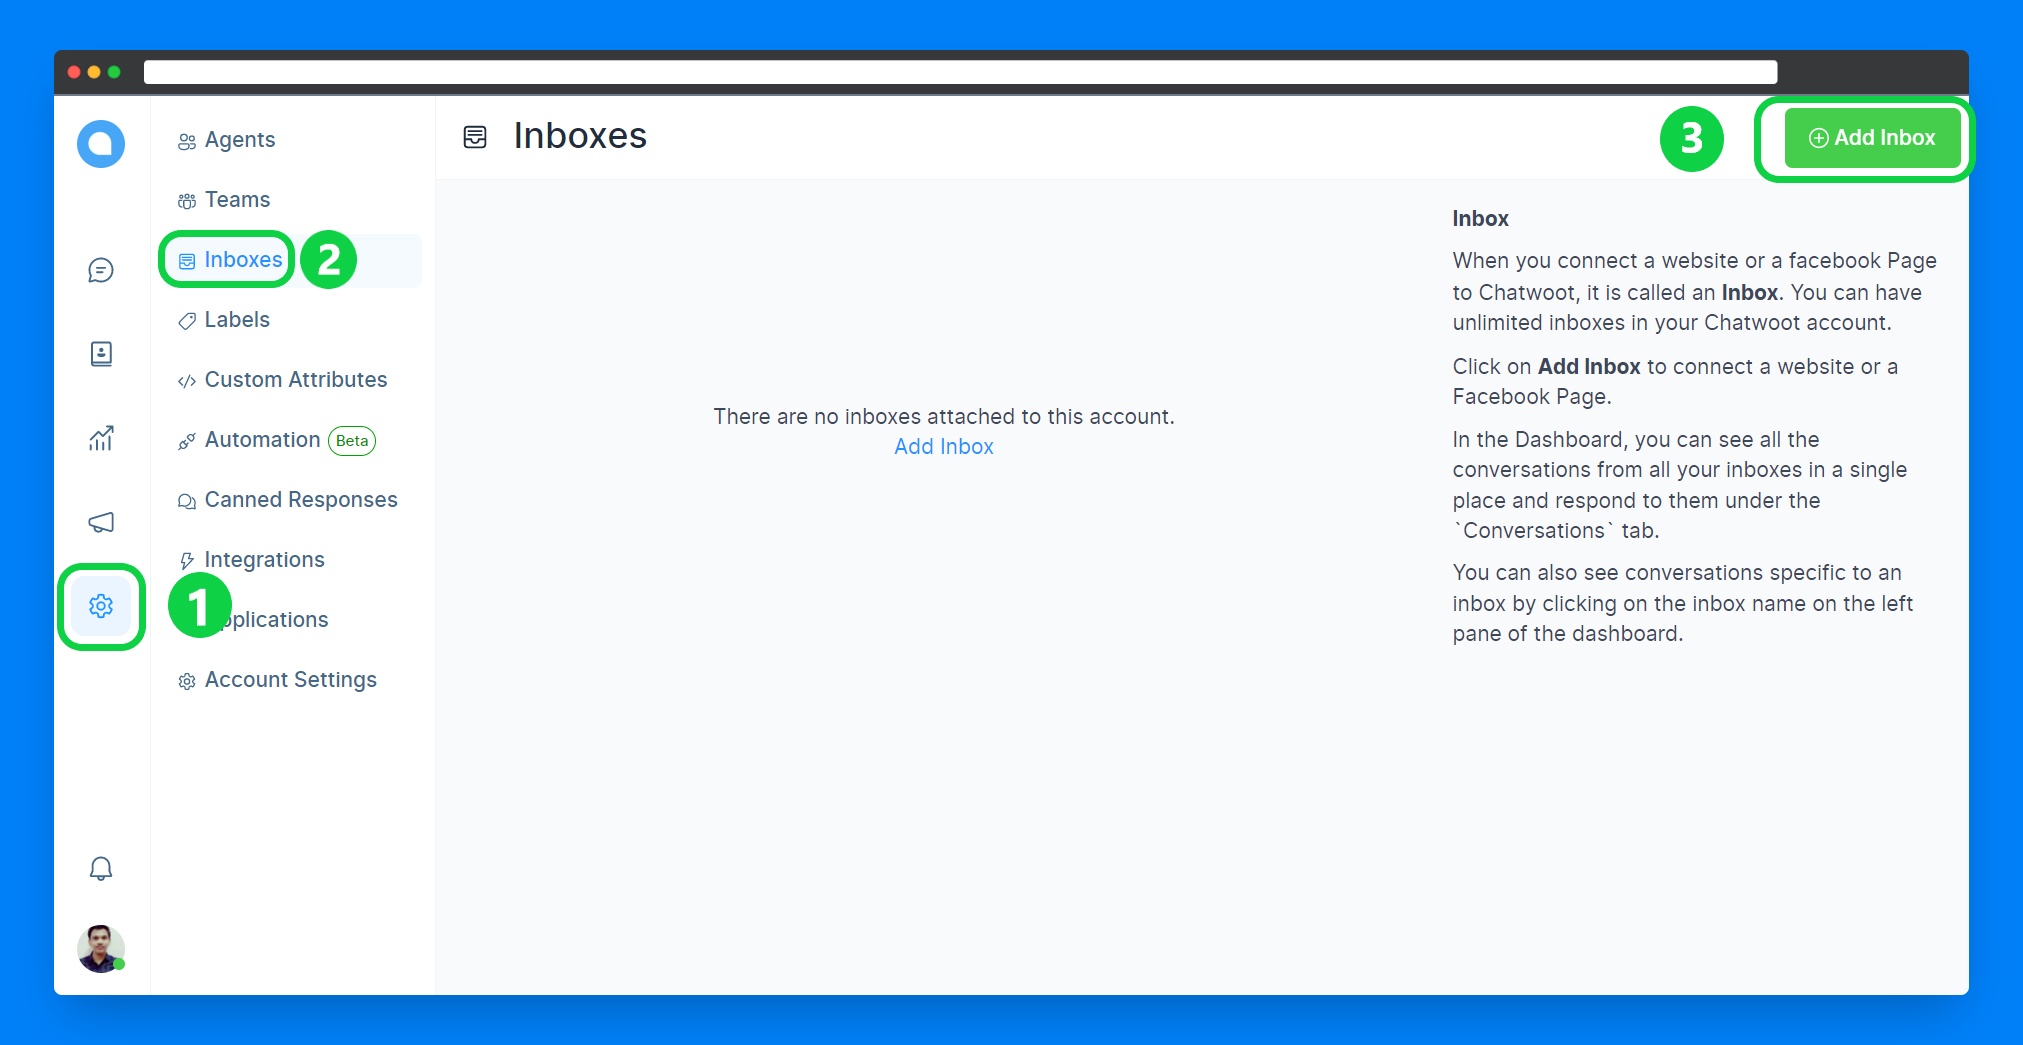
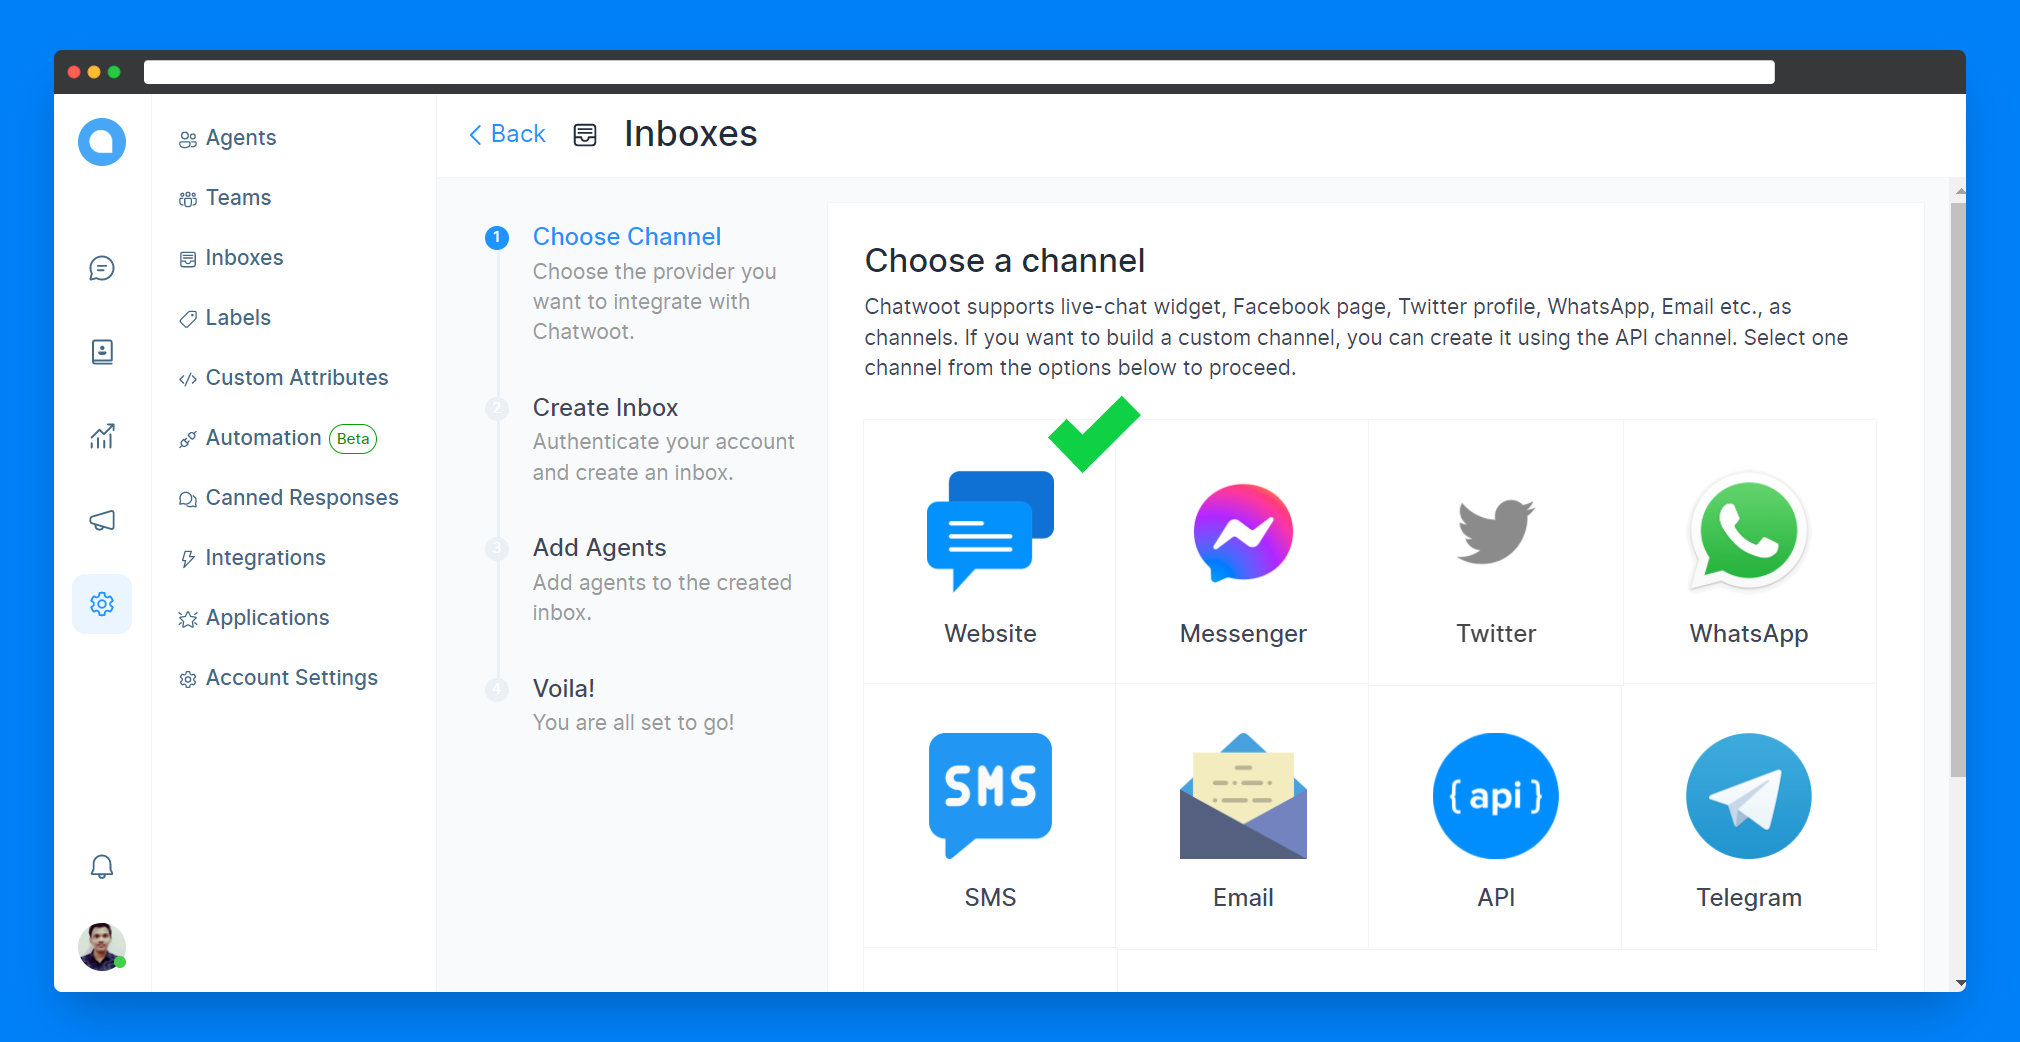
- From the list of channels, choose Website.
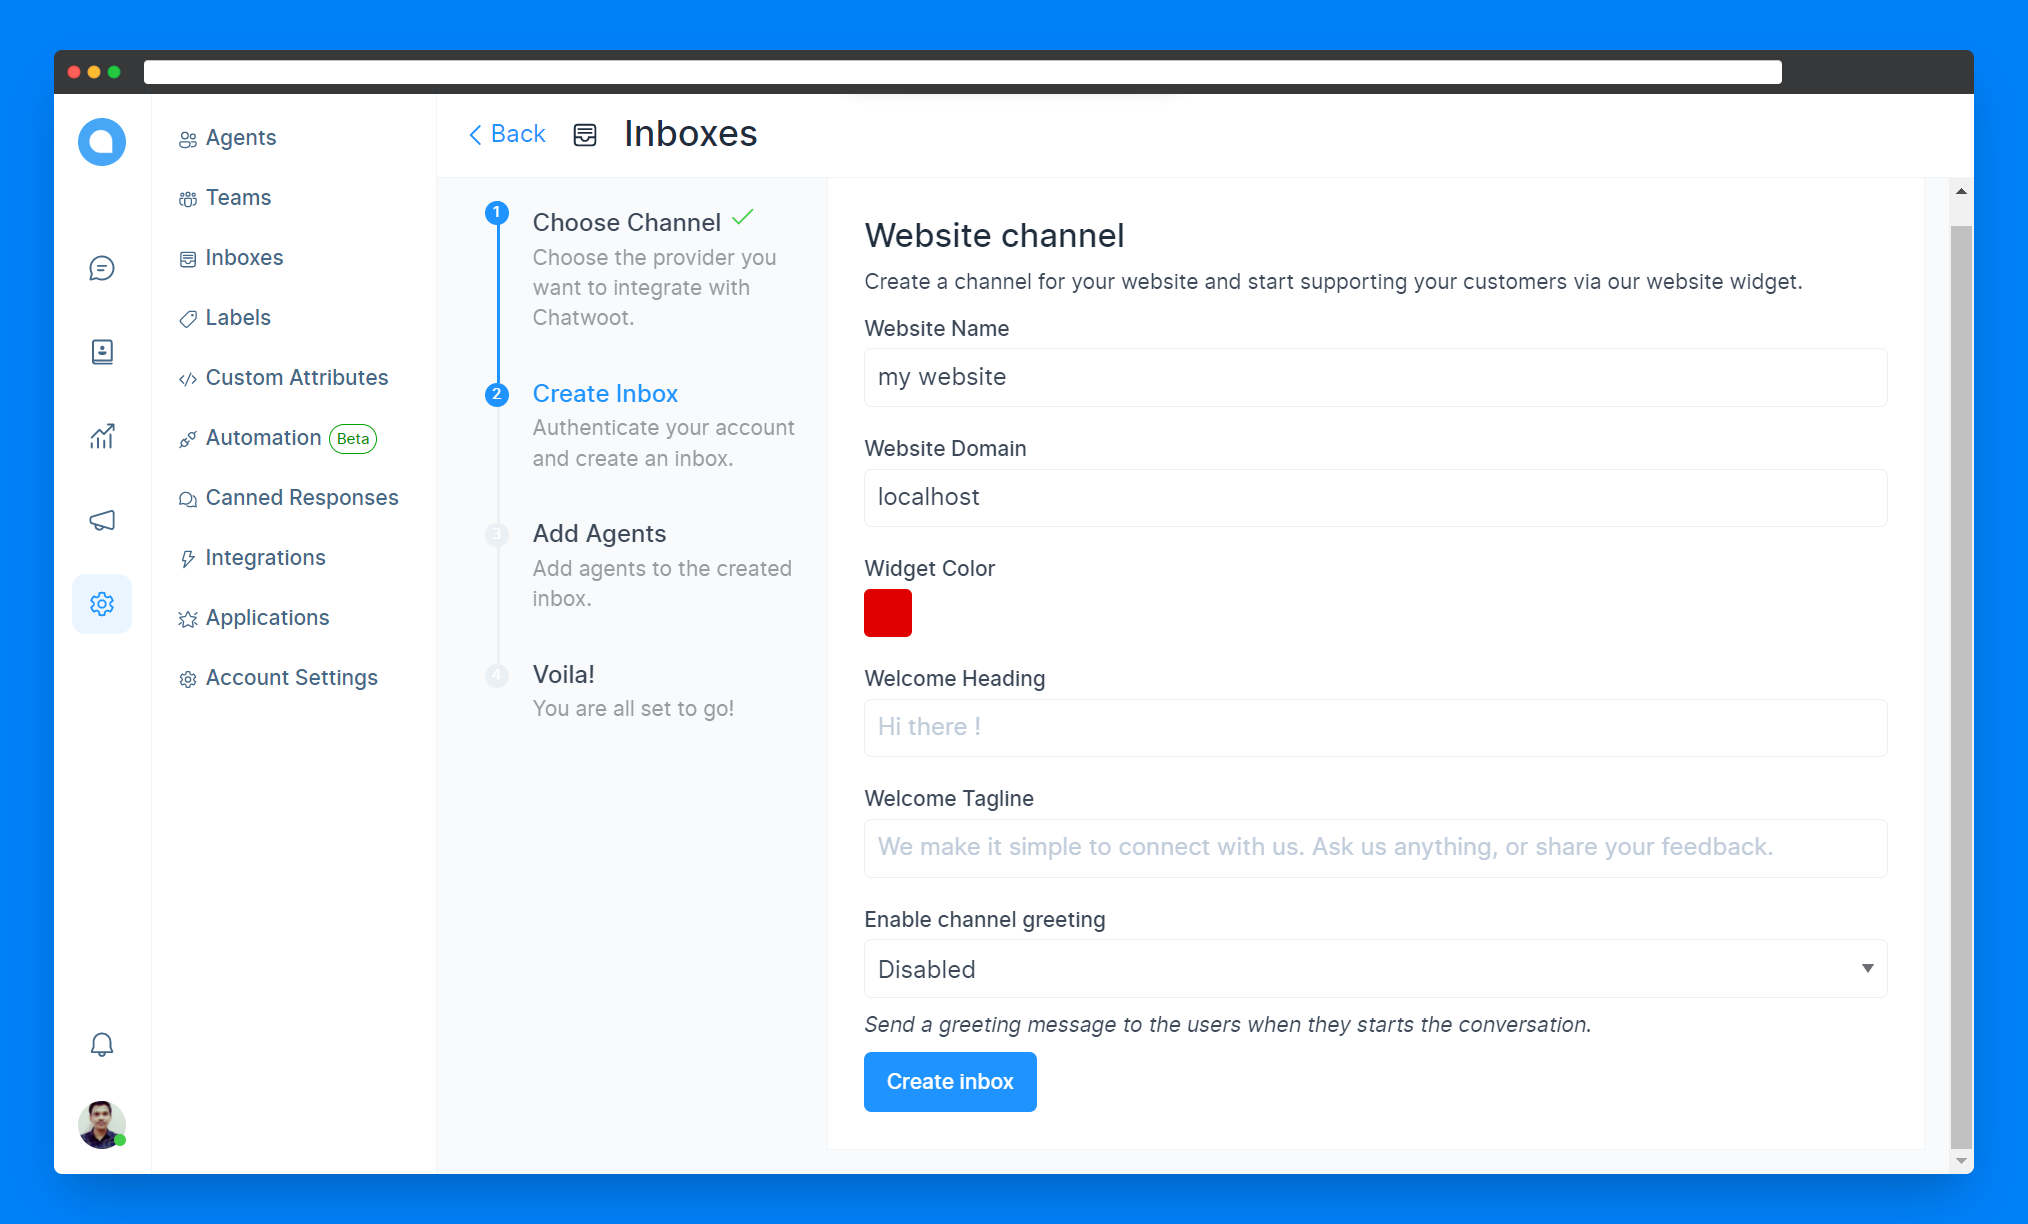
- Next, fill in your website details and configure the widget however you want. Click on Create inbox.
Tip: For domain name, if you are testing locally, just write localhost.
- Choose agents that you want to give access to your inbox. If there are no extra agents, then just add yourself.
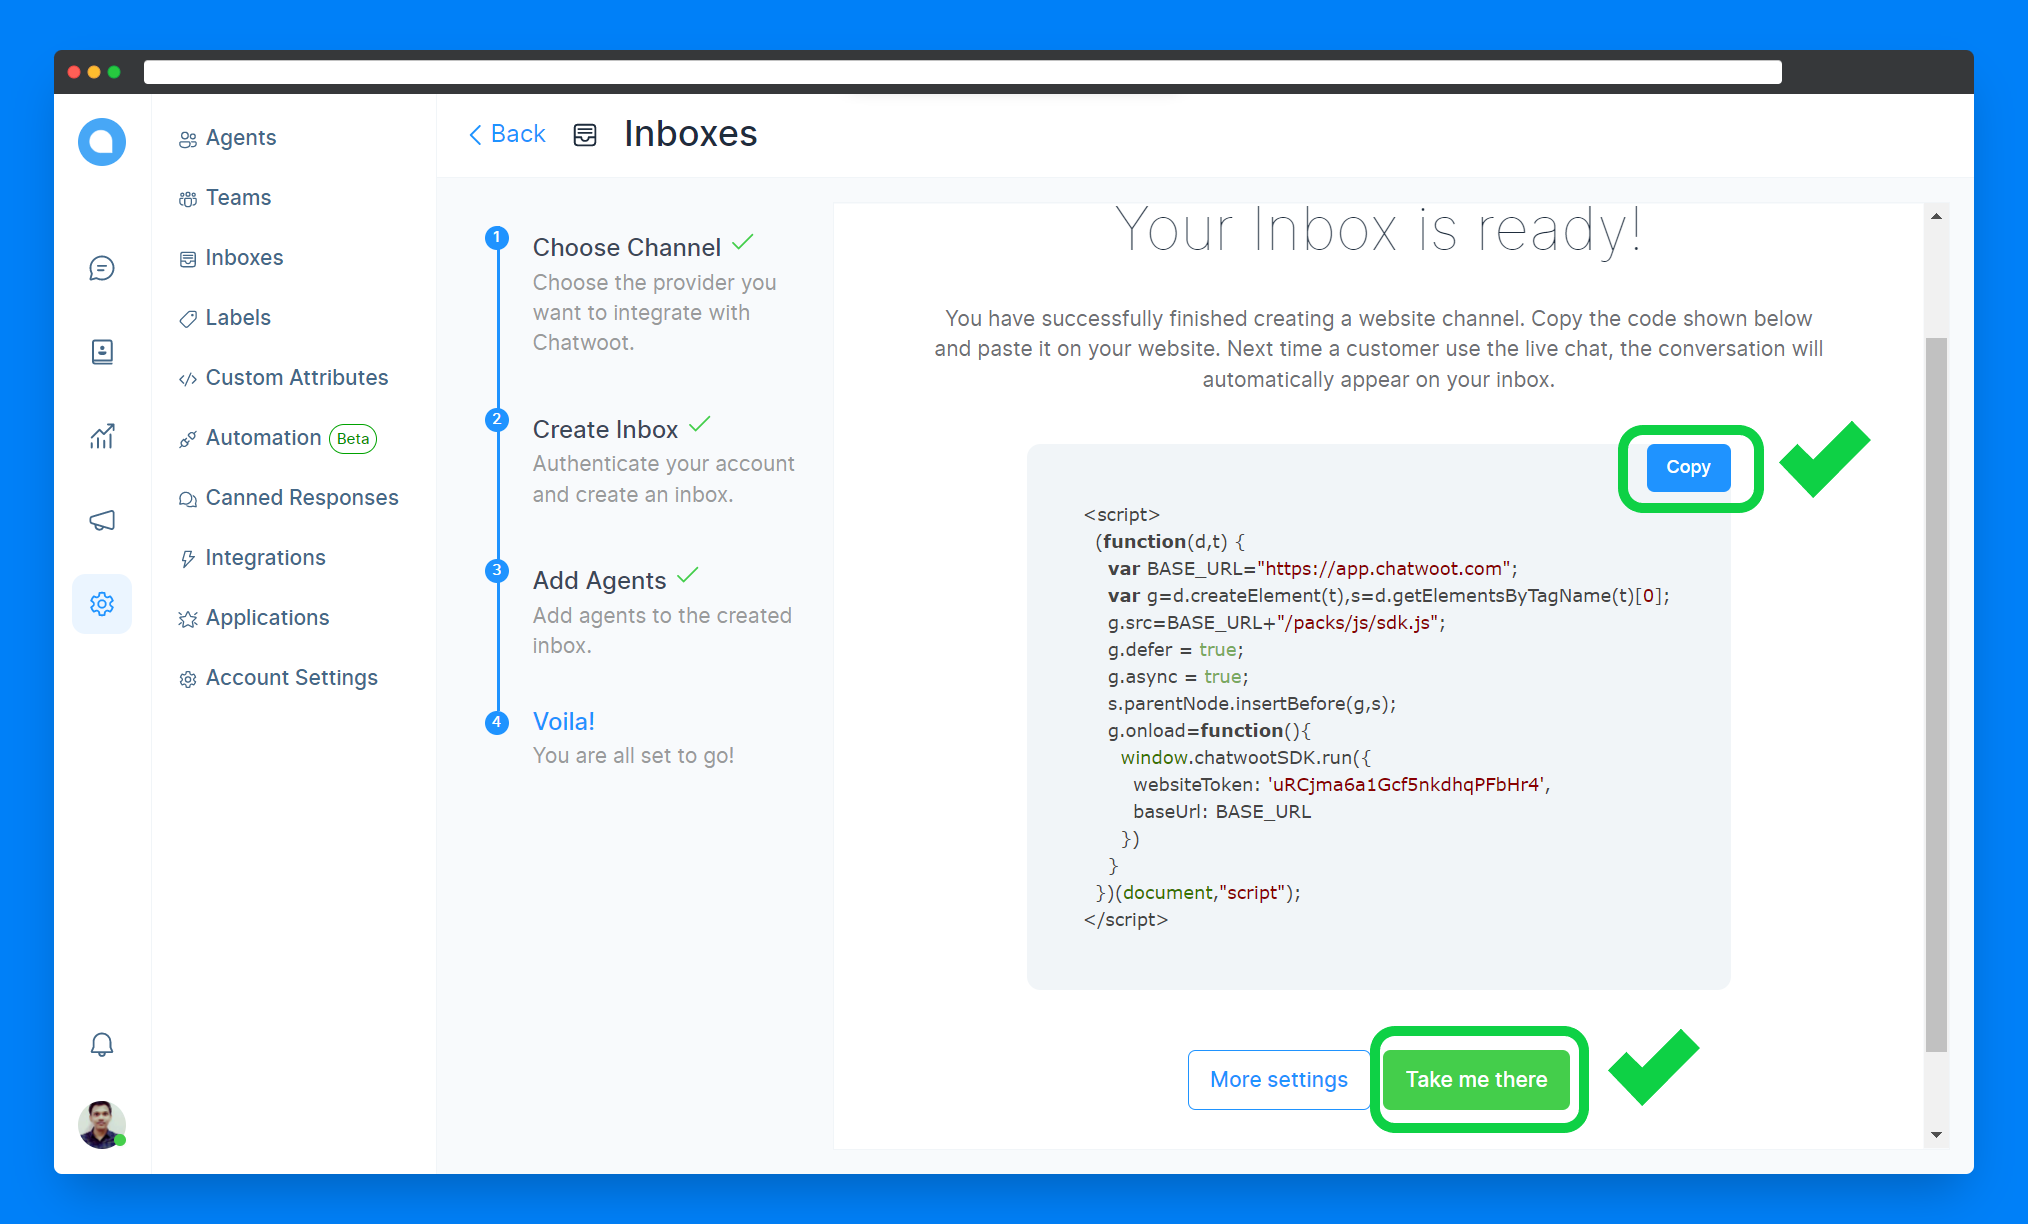
- That's it! Copy the code given and store it somewhere. And then click on Take me there.
Step 3 - Integrate the widget on your website
-
To feel fancy I downloaded a bootstrap template from here(Free).
-
Now, all you have to do is put that copied
scriptfrom the above step in yourindex.htmlfile above closing thebodytag. -
If you are using Content Management System like WordPress, research google on how to insert code.
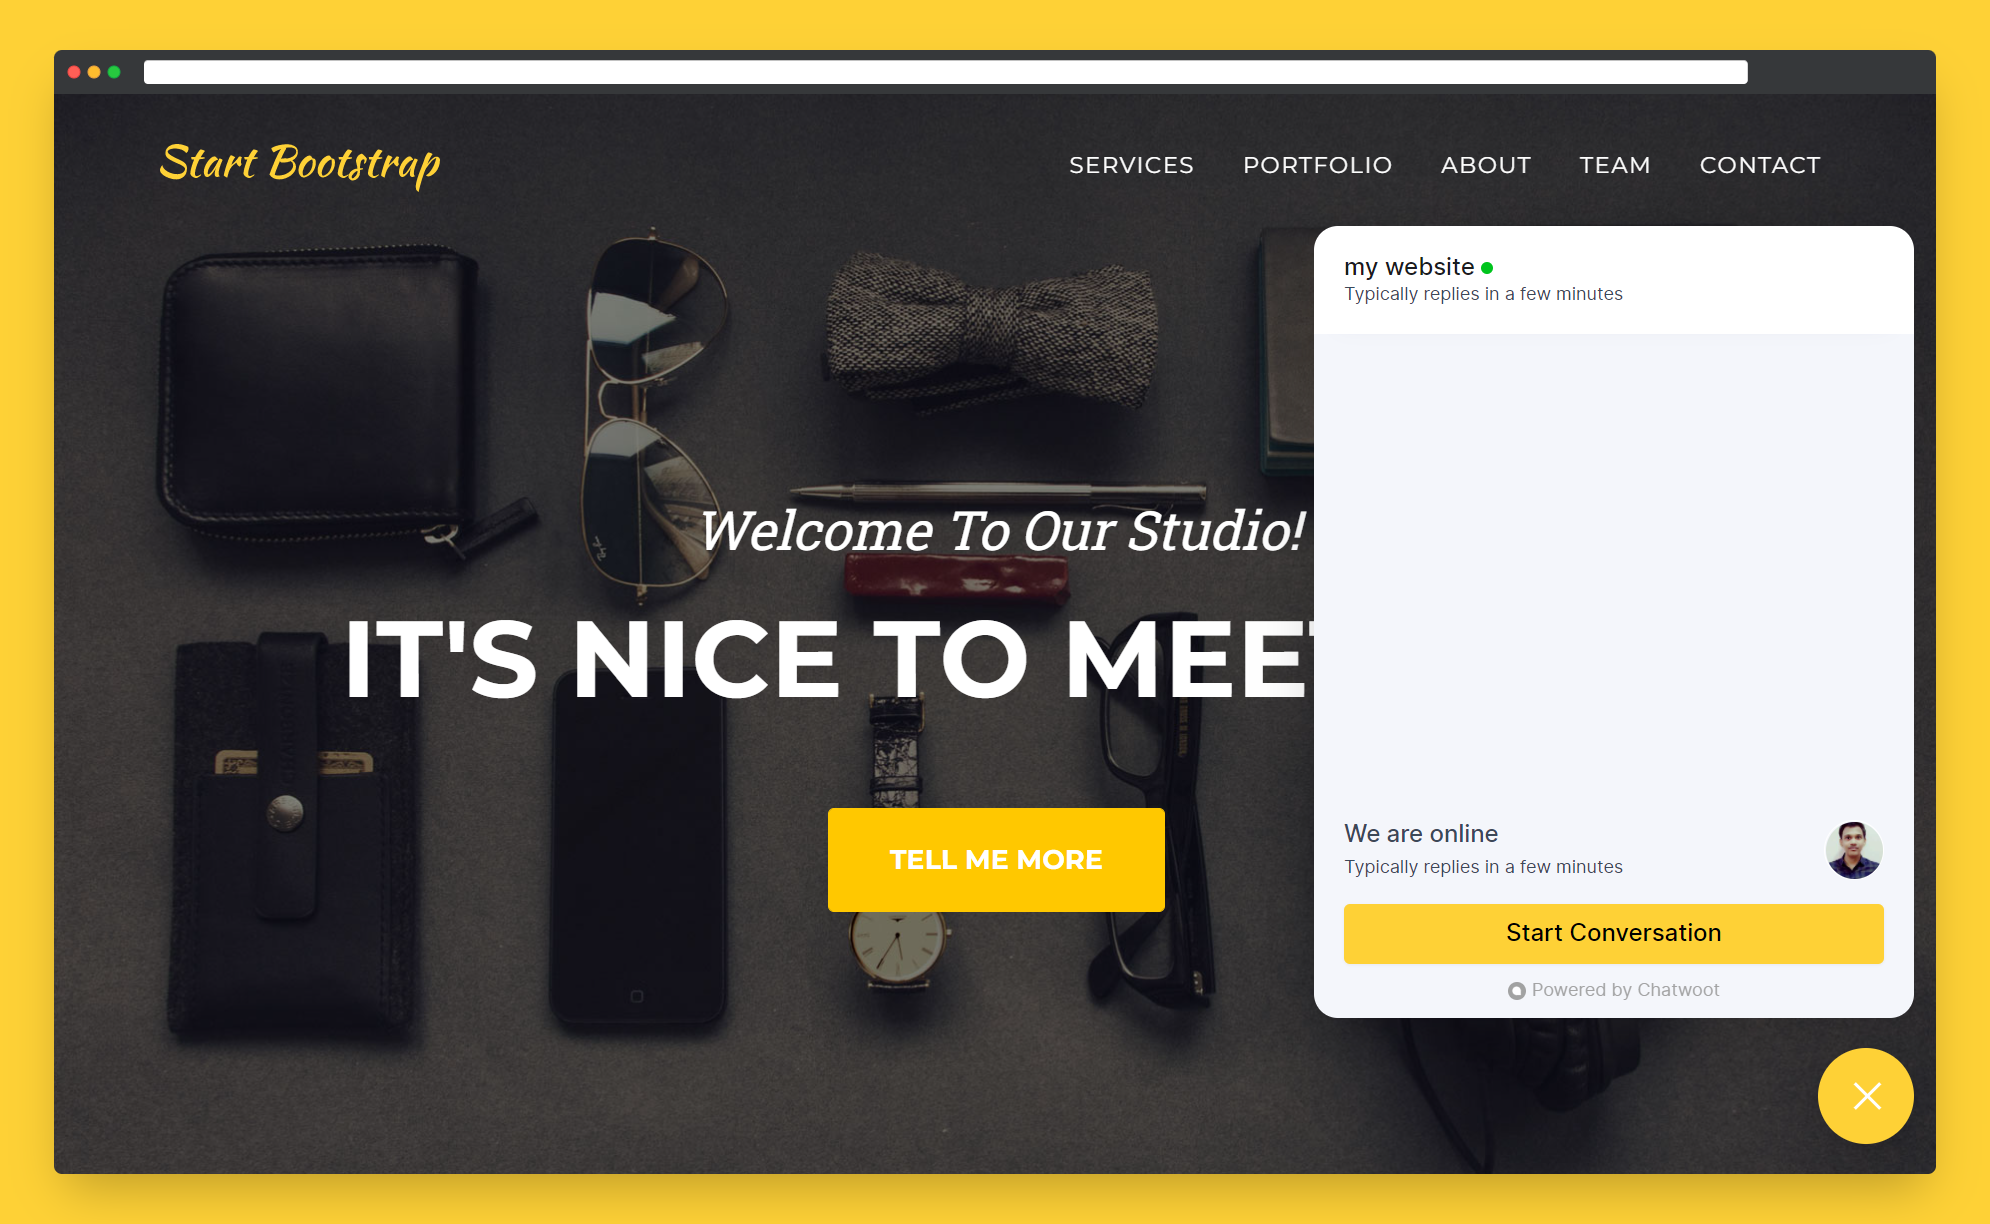
Here's how our widget appears on successful installation-
Tip: You can also download Chatwoot IOS/Android app to manage conversations from anywhere.
GitHub repository for reference - here
Some cool things you should explore
- Labels - Categorize conversations with labels like important, pricing related, product related, etc.., so that you can quickly assign them to the right agent.
To add a label, go to Settings -> Labels -> Add label
- Automation - Set some automation rules to avoid repetitive tasks.
To add automation rules, go to Settings -> Automation -> Add Automation Rule
- Canned Responses - Quickly reply to common messages by creating reply templates. Just type "/" to pick a reply from saved templates and quickly reply.
To add canned responses, go to Settings -> Canned Responses -> Add Canned Response
- Integrations - Chatwoot currently provides slack and webhooks integrations.
To get started with integrations, go to Settings -> Integrations -> Choose what you want.
- Dialogflow - Use the power of Natural Language Processing. Build chatbots with Dialogflow and connect to your inbox to better handle communications.
To add Dialogflow, go to Settings -> Applications -> Configure Dialogflow -> Add a new hook
That's it! See how powerful Chatwoot is and all the functionalities it provides for free.
Comment if you have any doubts.
LEAVE A COMMENT OR START A DISCUSSION
MORE ARTICLES
3 min read
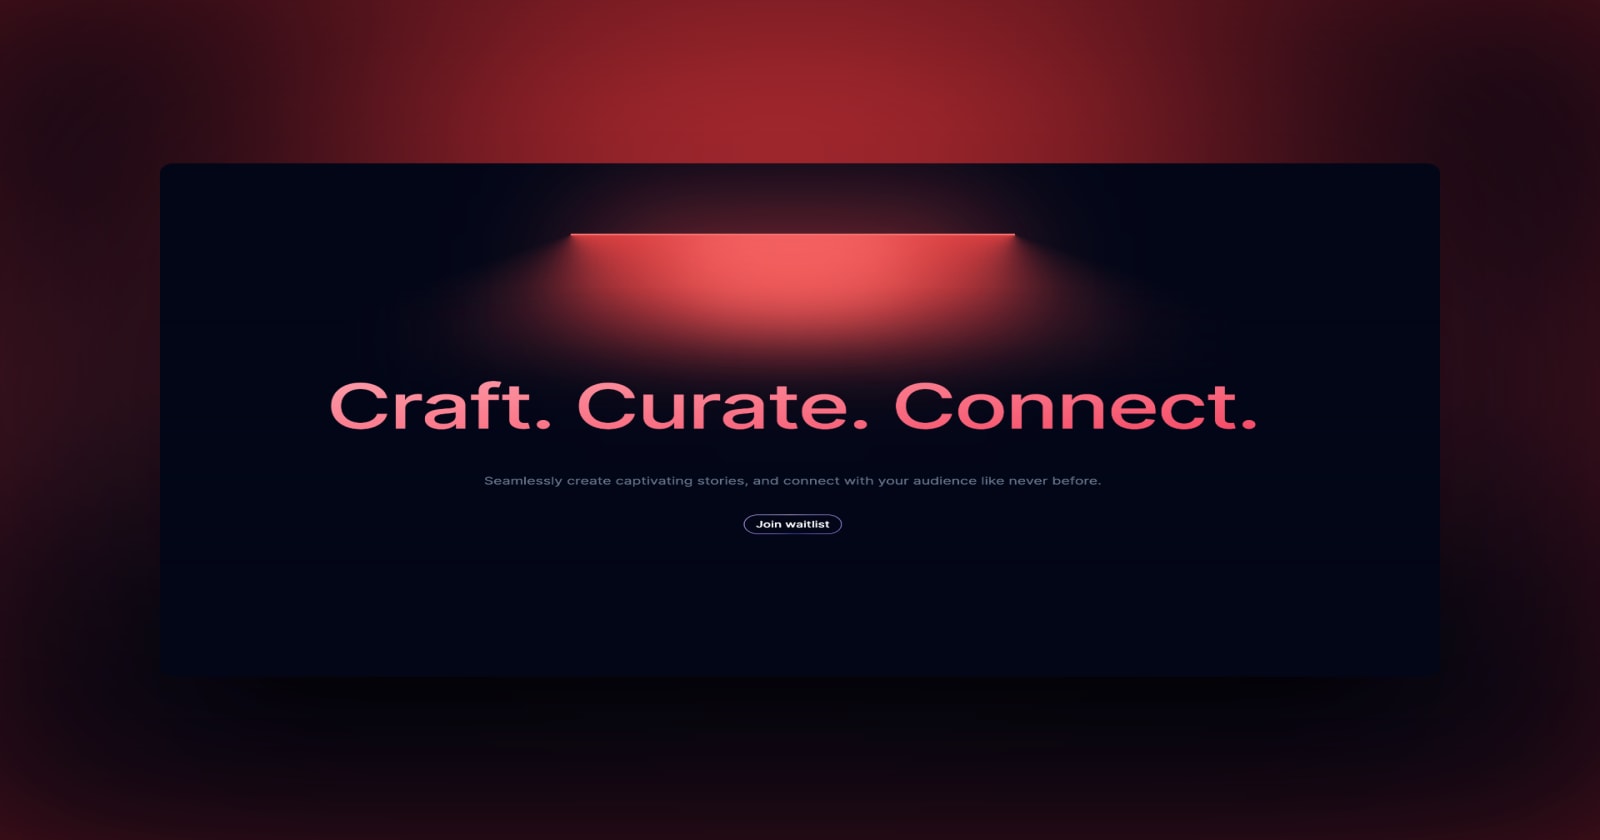
Introducing Publish Studio: Power Digital Content Creation
Say “Hi” to Publish Studio, a platform I’ve building for the past few months. If you are a content writer, then you should definitely check it out. And if you are someone who has an audience on multiple blogging platforms and need an easy way to manage your content across platforms, then you should 100% give it a try.

10 min read
Let's Build a Full-Stack App with tRPC and Next.js 14
Are you a typescript nerd looking to up your full-stack game? Then this guide is for you. The traditional way to share types of your API endpoints is to generate schemas and share them with the front end or other servers. However, this can be a time-consuming and inefficient process. What if I tell you there's a better way to do this? What if I tell you, you can just write the endpoints and your frontend automatically gets the types?